
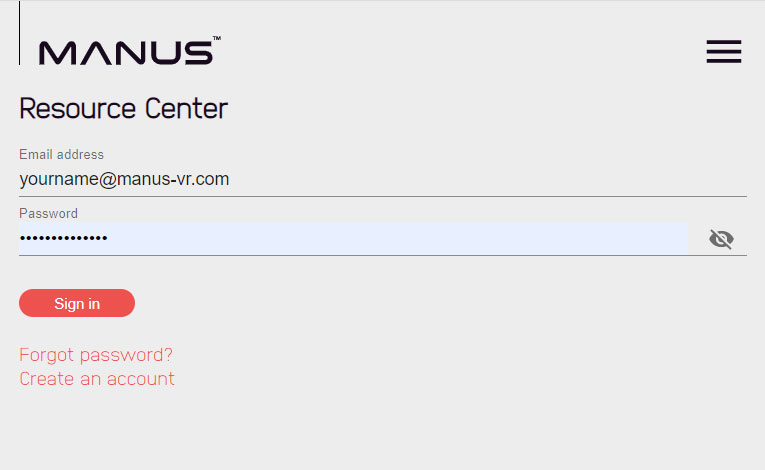
Start by logging in to our Resource Center.
If you don't have an account please create one.
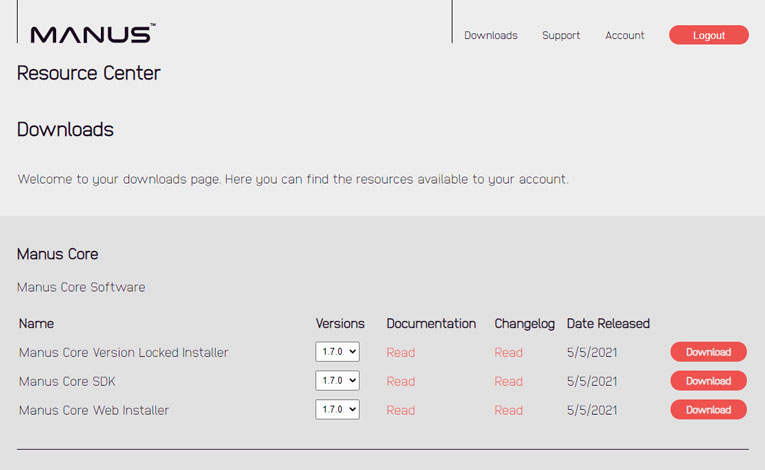
Download and install the latest version of Manus Core Web Installer on our resource center.
Manus Core is a background application that handles all of the glove data.
Manus Core must be running in order to make use of the gloves.
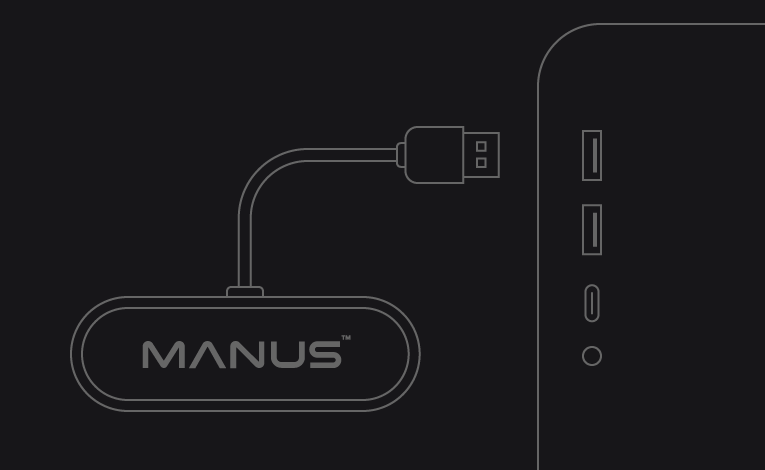
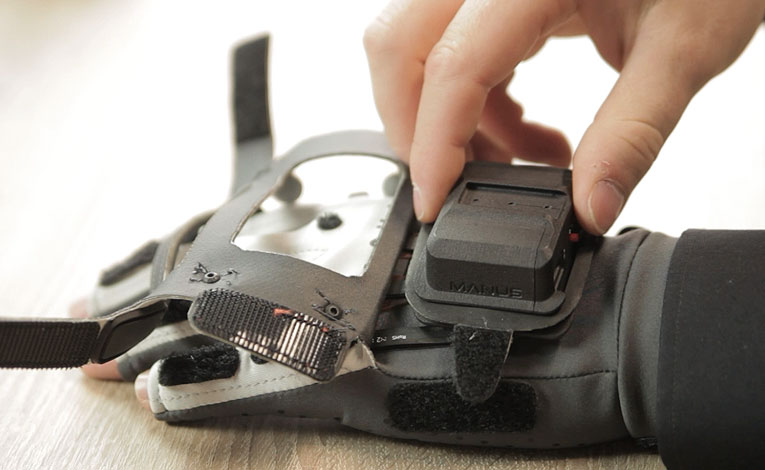
Please insert the Manus Dongle into your computer.
This dongle receives glove data and communicates this to Manus Core.
One dongle can connect to one pair of gloves.
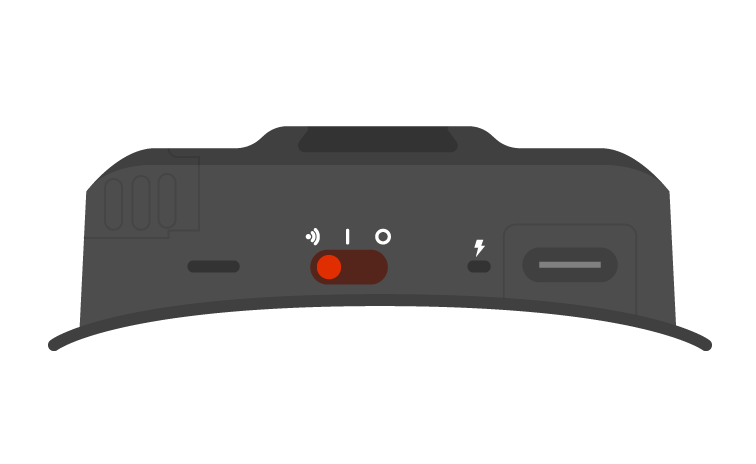
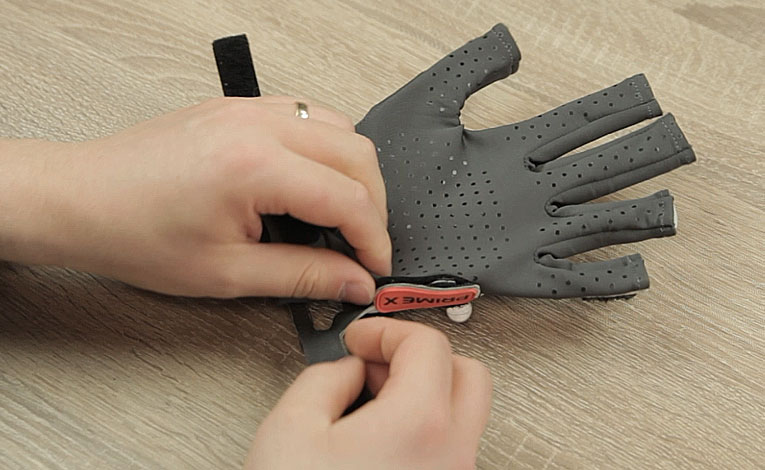
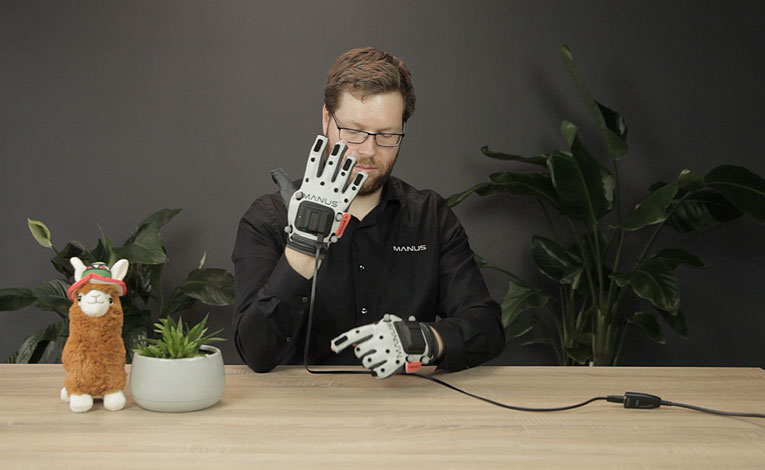
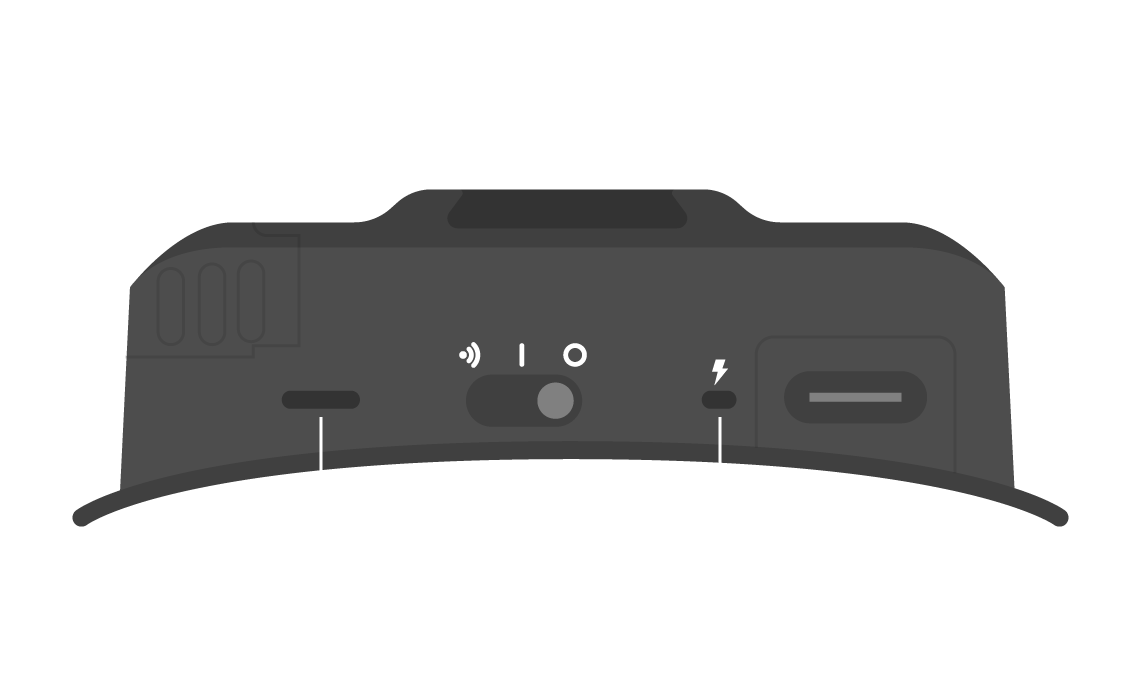
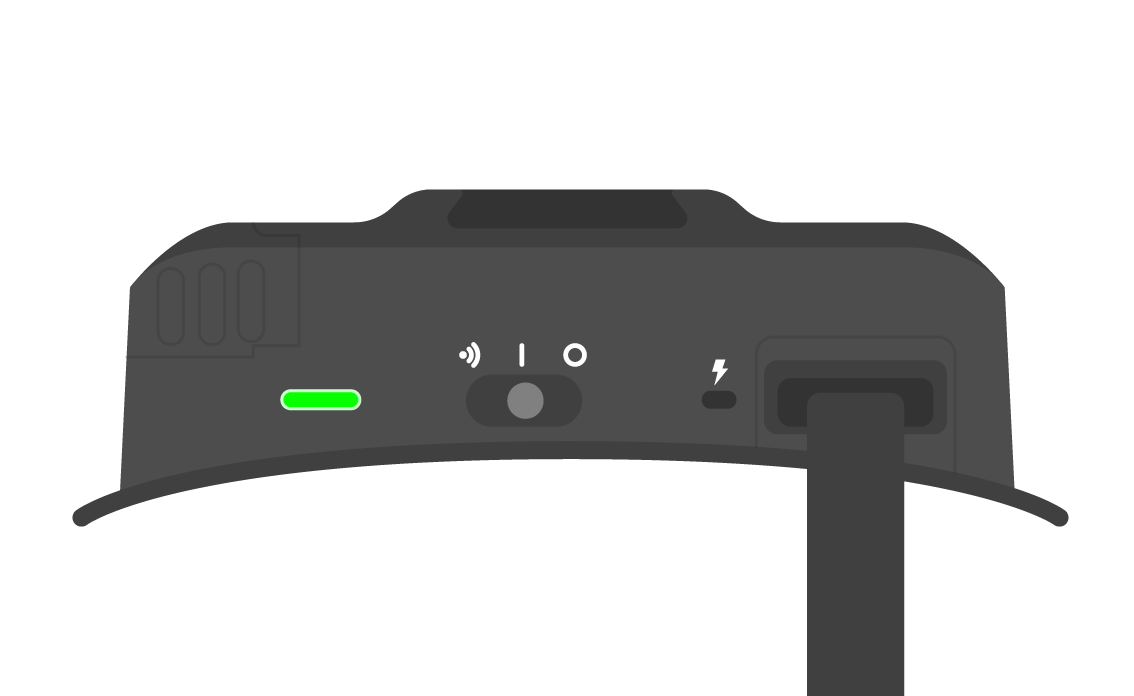
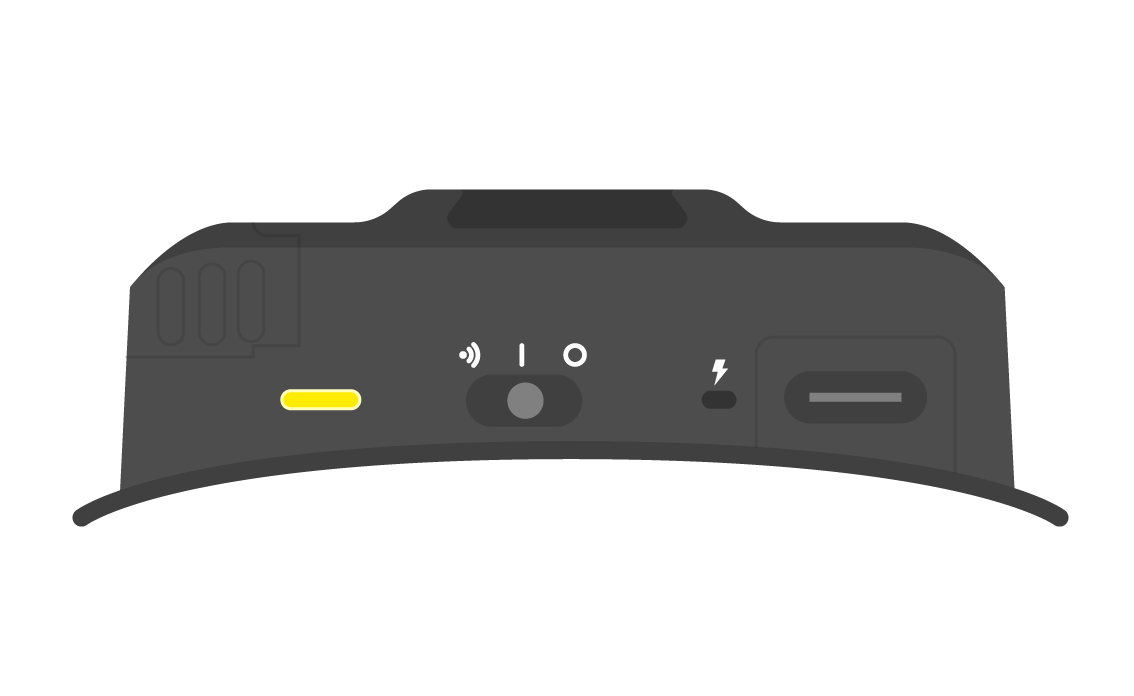
Switch the button on the glove to the center position which turns on the gloves. Then wait for the LED to stop blinking.
Push the button in the same direction as before to enable pairing mode.
The switch will automatically return to the center position.
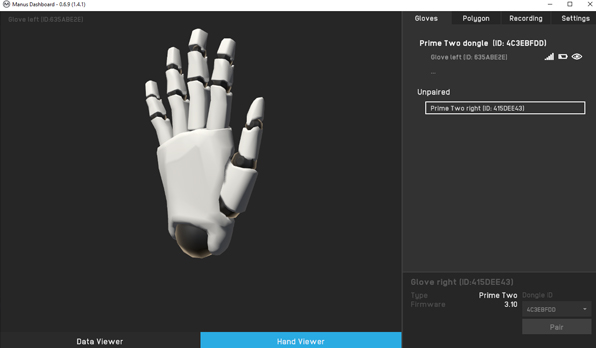
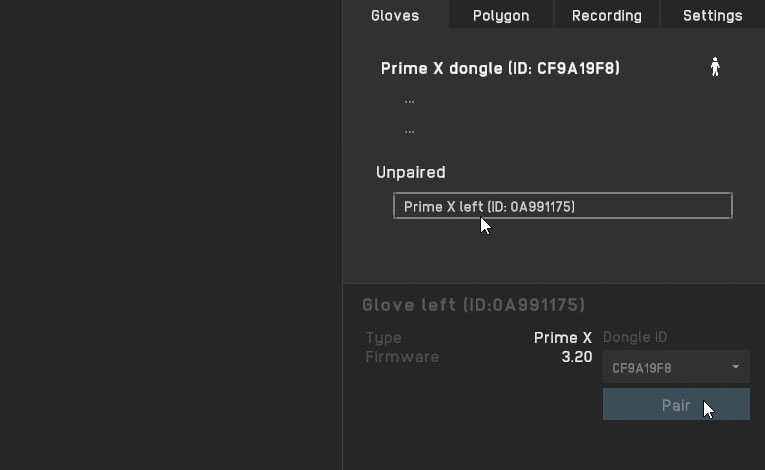
From the MANUS Dashboard select each glove and then in the bottom panel click the 'Pair' button.
This will connect the glove to the Dongle you just plugged into your computer.
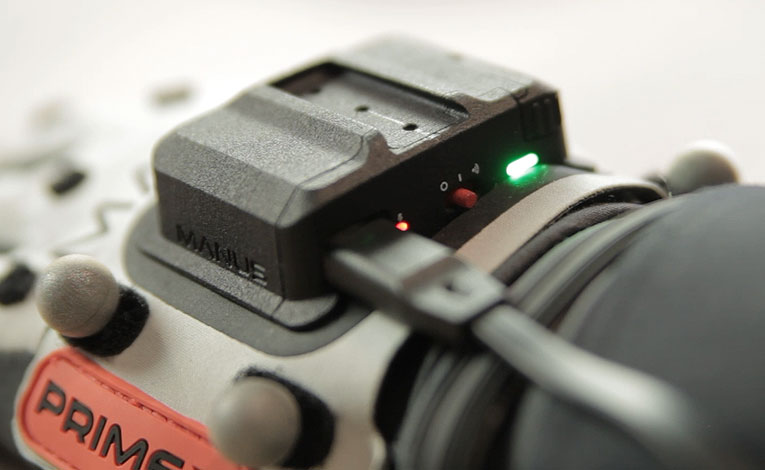
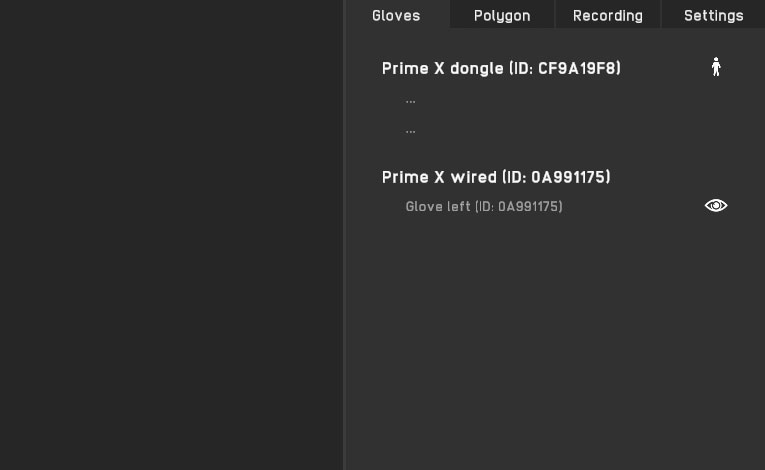
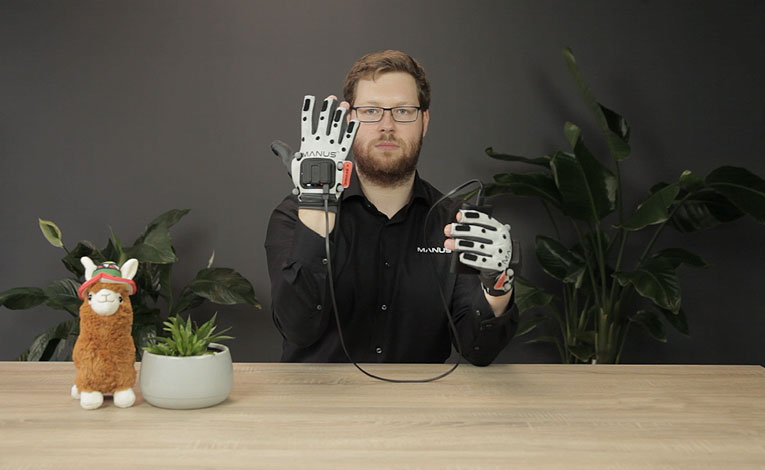
Connect your gloves with the enclosed USB-C cables to your computer.
No additional action is required in the Dashboard.
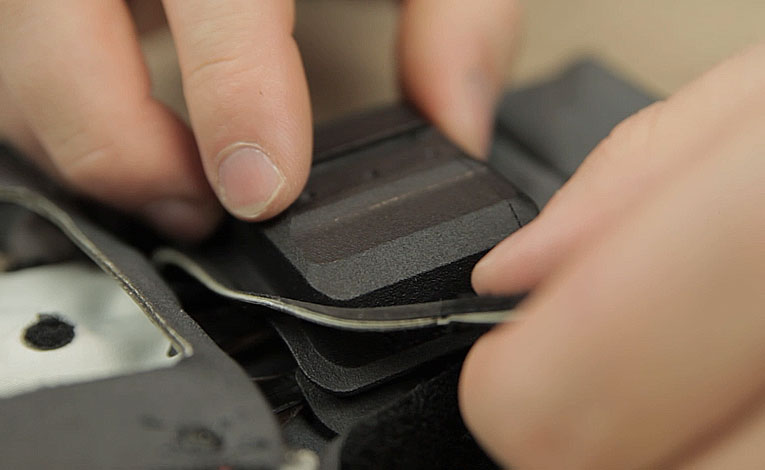
Each finger contains three layers of material connected to the electronics.
The top layer contains the IMU sensors which register position and orientation on a 9 degrees of freedom (DOF) grid.
The second layer acts as a a support layer to keep all of the sensors aligned.
The third layer consists of flexible bend sensors which register the amount of bending the first two digits of each finger does.
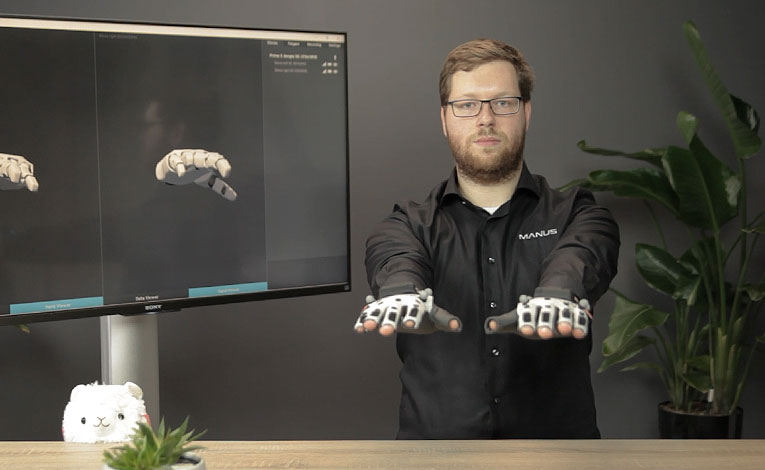
Move both hands in a single repetitive motion, like a swimming motion or in a figure 8. Do this for a couple of seconds.
Finish by holding both hands still. Putting them on a table can help.
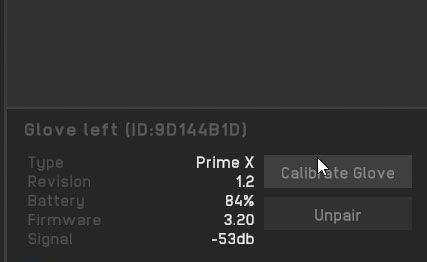
In the Dashboard select a glove from the 'Gloves' tab.

In the bottom section click on the 'Calibrate Glove' button.
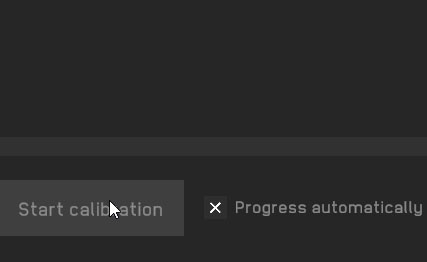
Check the 'Progress automatically' box to go through all of the calibration steps automatically.
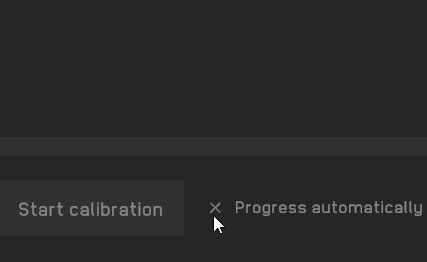
Press the 'Start calibration' button
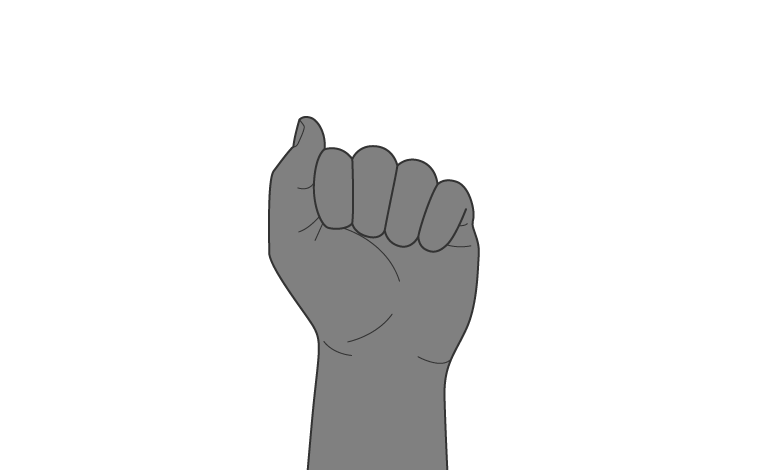
Make a fist with your hand.
This calibrates the sensors to your fingers in the most bent position.
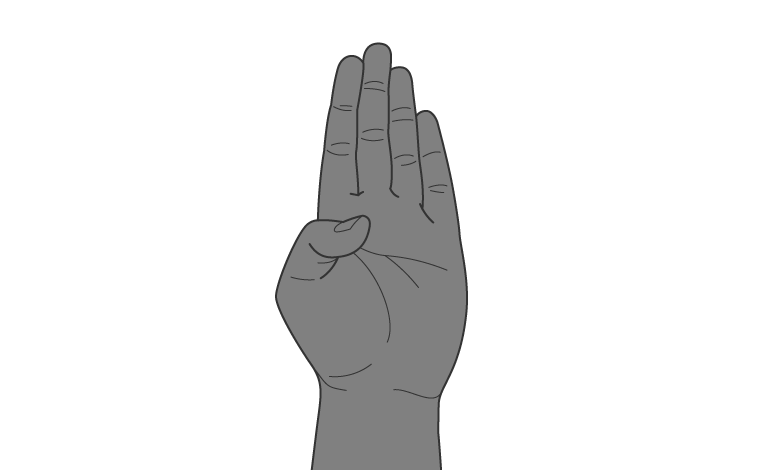
In this step you straighten your fingers while bending your thumb.
This calibrates the sensors to your fingers in the most straight position.
It also calibrates the thumb sensors in the most bent position.
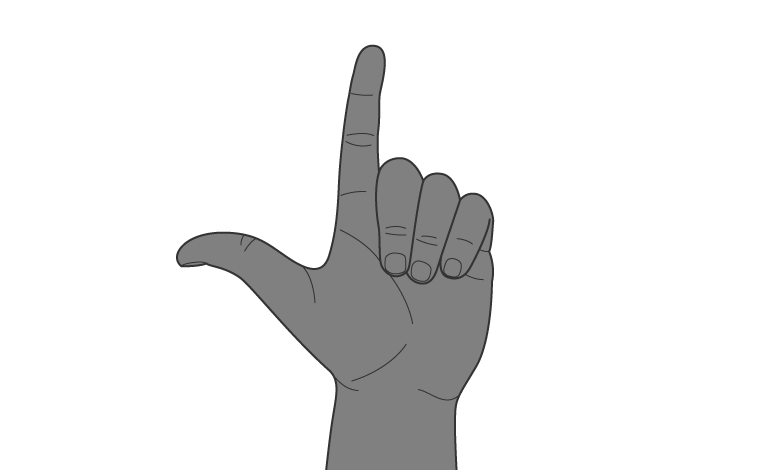
This step calibrates the thumb sensors in the most straight position.
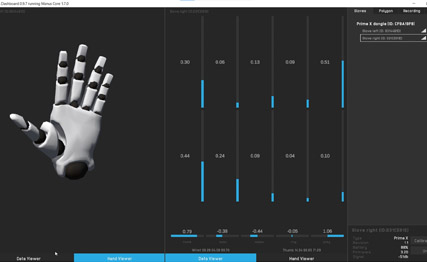
From the main dashboard you can visualize the data coming from the sensors as both a virtual hand avatar and simple sliders.
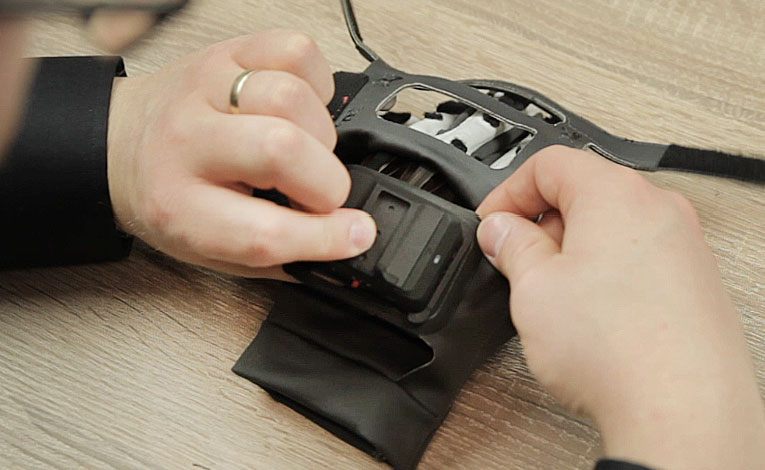
Detach both velcro pieces of the flap and peel it back revealing the electronics.
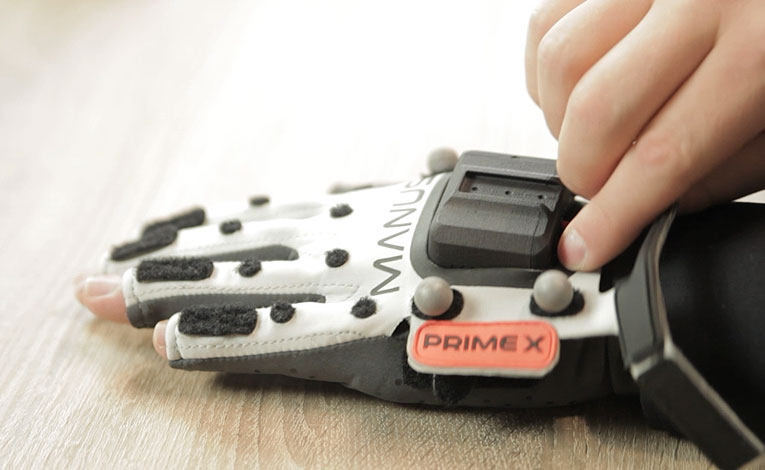
By grabbing the main module you can now correctly position the IMU sensors to lie flat on top of the first finger digits.
Close up the flap again attaching all of the Velcro securing the electronics into place.

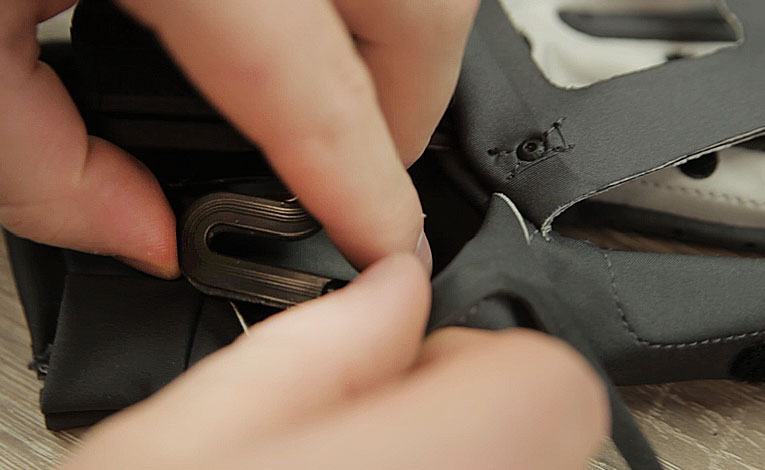
Pull gently on the corners to release the fabric from the casing.
By flipping over the fabric you can now expose the electronic housing.
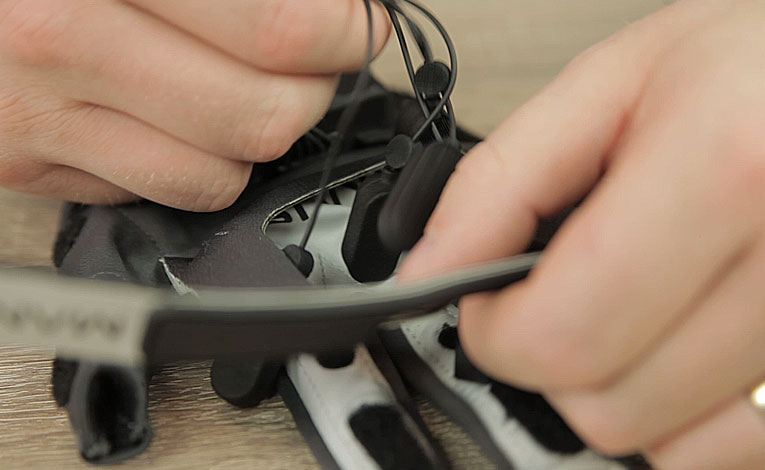
Gently detach the Linear Resonant Actuators (LRA's) and guide them through the opening in the fabric.
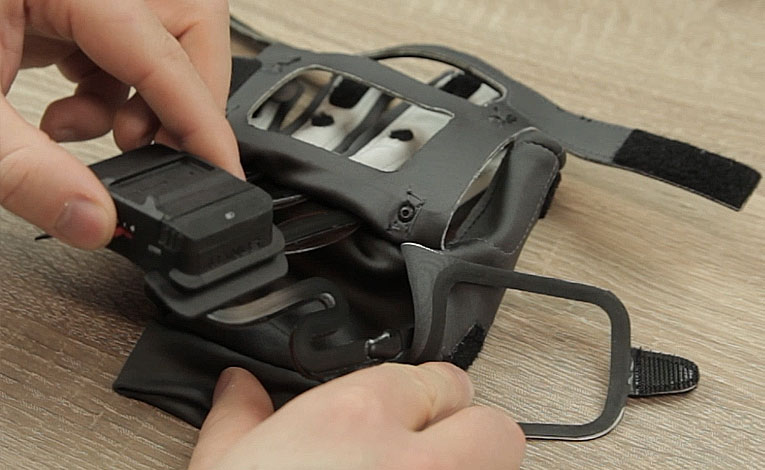
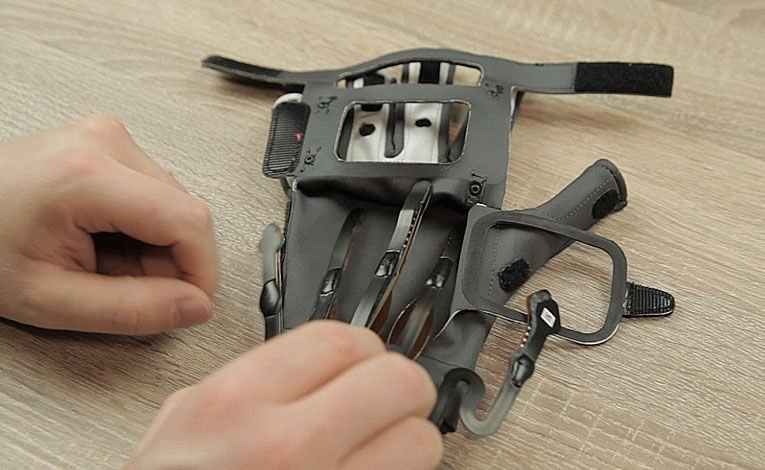
Detach the adjustment flap and gently remove the fabric from the corners.
With a wiggling motion you can now pull out the electronics.
Pay attention to the thumb sensors as they have some extra curves.
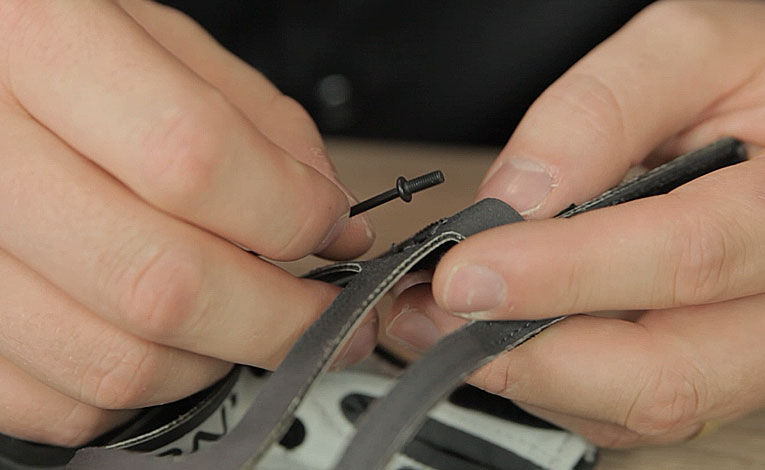
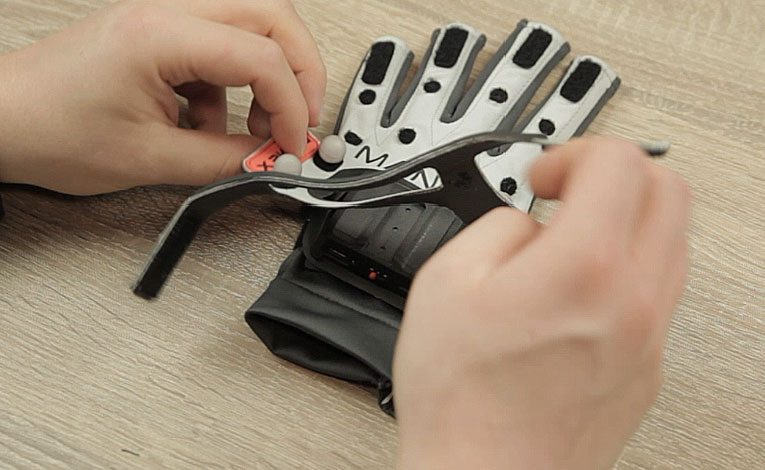
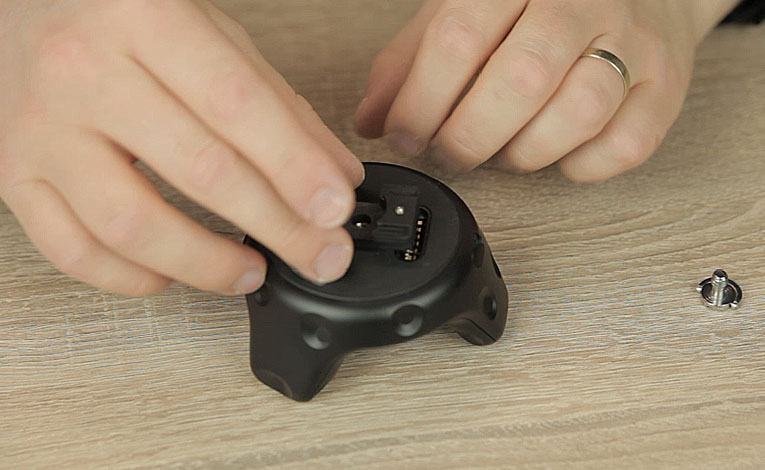
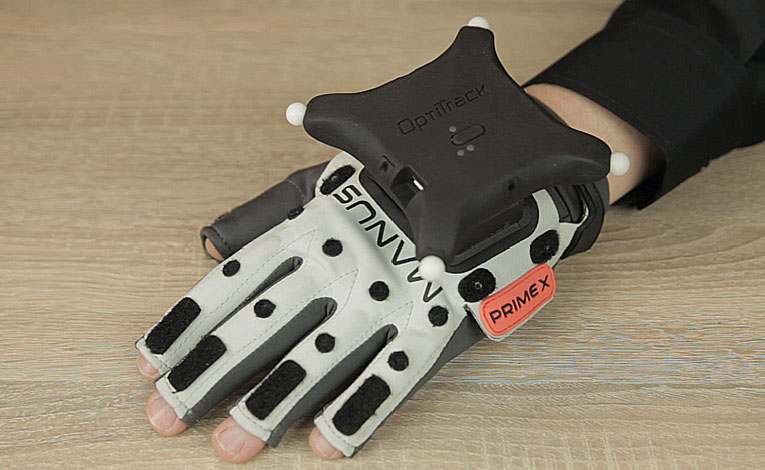
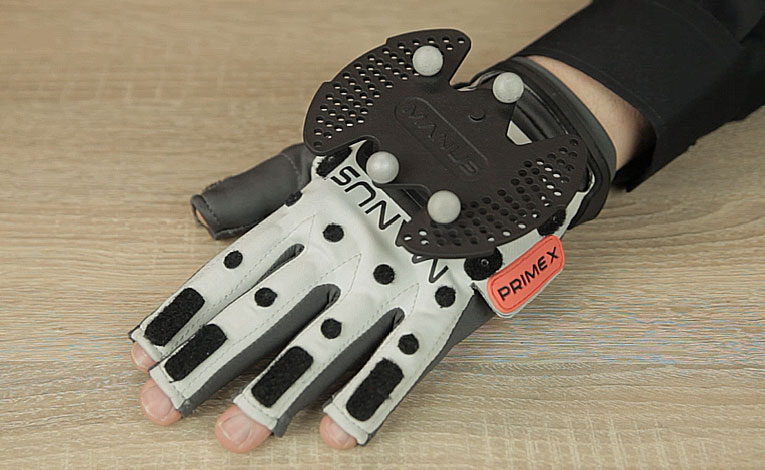
Use the included hex/allen key to unscrew the reflective markers.
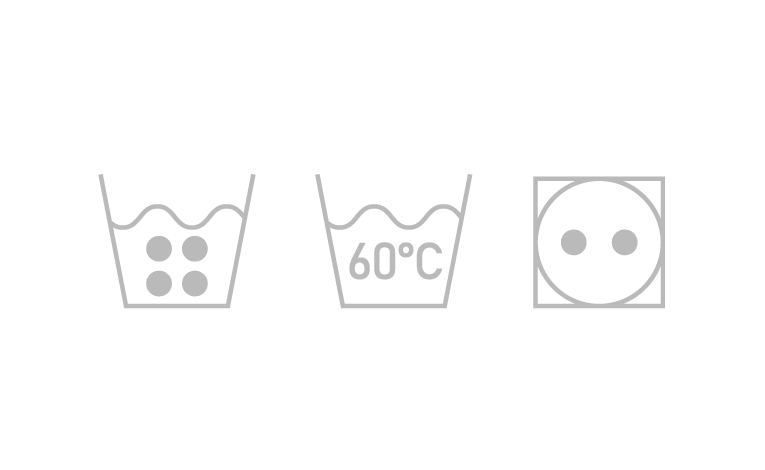
Machine wash up to 60°C / 140°F and tumble dry on low to medium heat.
You can also hand wash the gloves in warm water and air dry them.
The gloves can also be disinfected by spraying with Isopropyl Alcohol 70% solution.
If you have washed the gloves please make sure they are completely dry.
Align the finger sensors and with a wiggling motion carefully insert them halfway
into their designated chute.
At this point you can easily align the thumb sensor and push it into the glove.
Now you can slide the sensors and electronics all the way in.
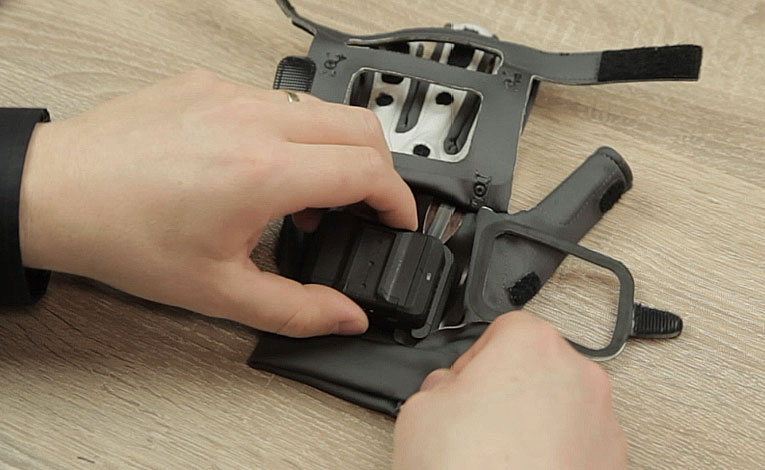
Flip the adjustment flap fabric back around the casing and by pulling on each corner secure it into place.
Then reattach the Velcro.
Flip over the top flap and put it back into position around the casing and by pulling on each corner secure it into place.
Then reattach the Velcro.
When reassembling our haptic gloves guide the LRA's through the flaps and then reattach the LRA's by wiggling them back onto the fingers.
The wiggling motion ensures the LRA's stay in place.
You can charge your batteries by connecting the gloves with the included USB-C cable through a USB port on PC or notebook.

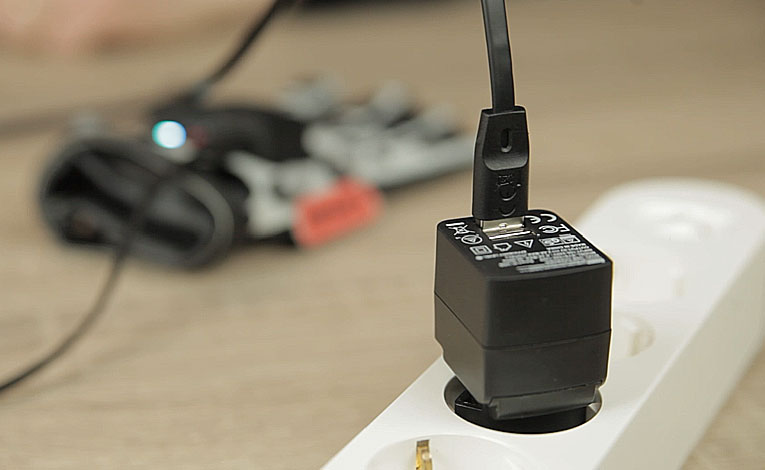
You can also charge your batteries by connecting the gloves with the included USB-C cable to the included AC power brick.
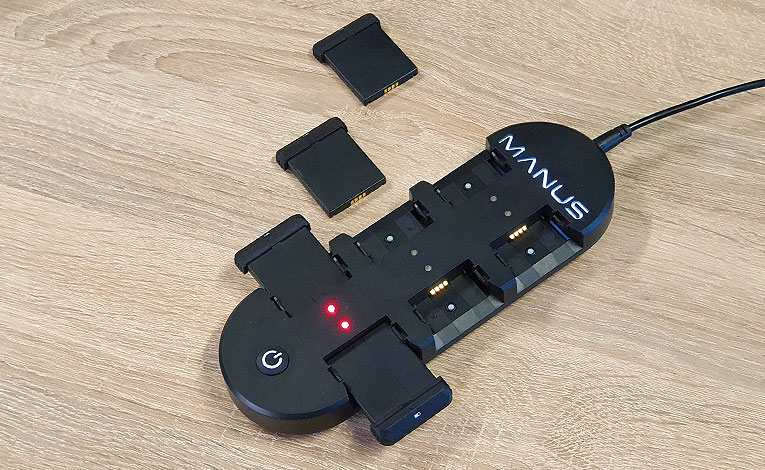
You can also charge your batteries by placing them in the Manus Charging Station which is sold separately.
For extended use of the Manus gloves you have two options.
One is connecting the gloves to a USB extension cord.
The other way is to connect the gloves to a mobile Power pack.
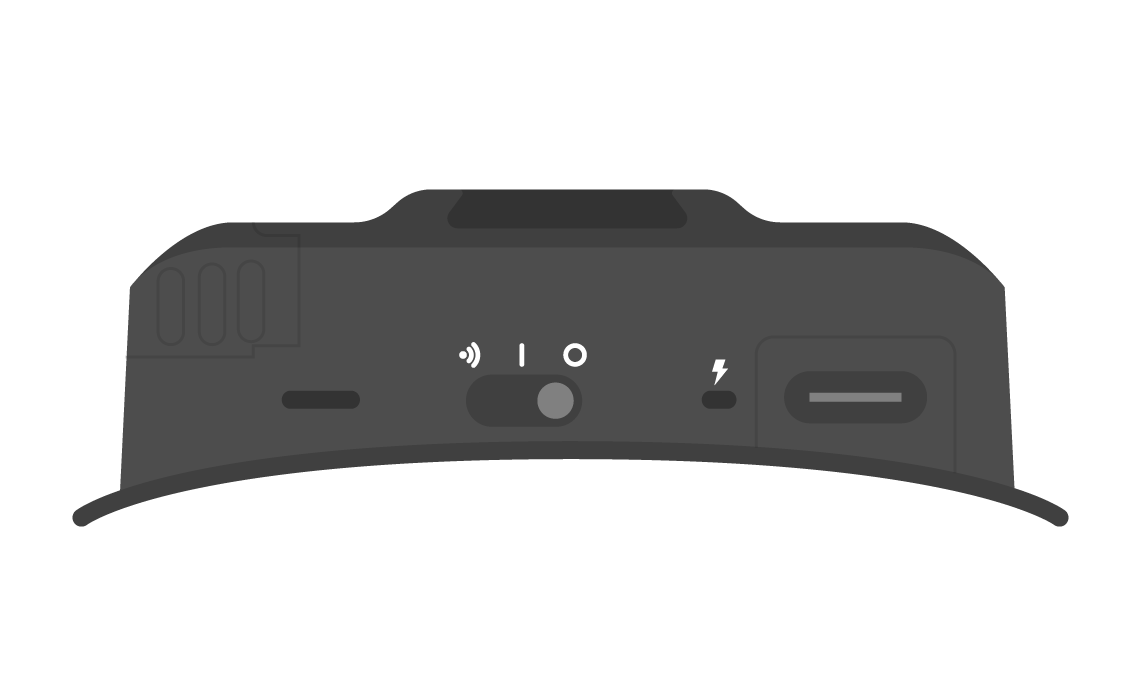
There are two indication LED's on the gloves.
The glove status LED and the battery status LED.
The battery is not charging
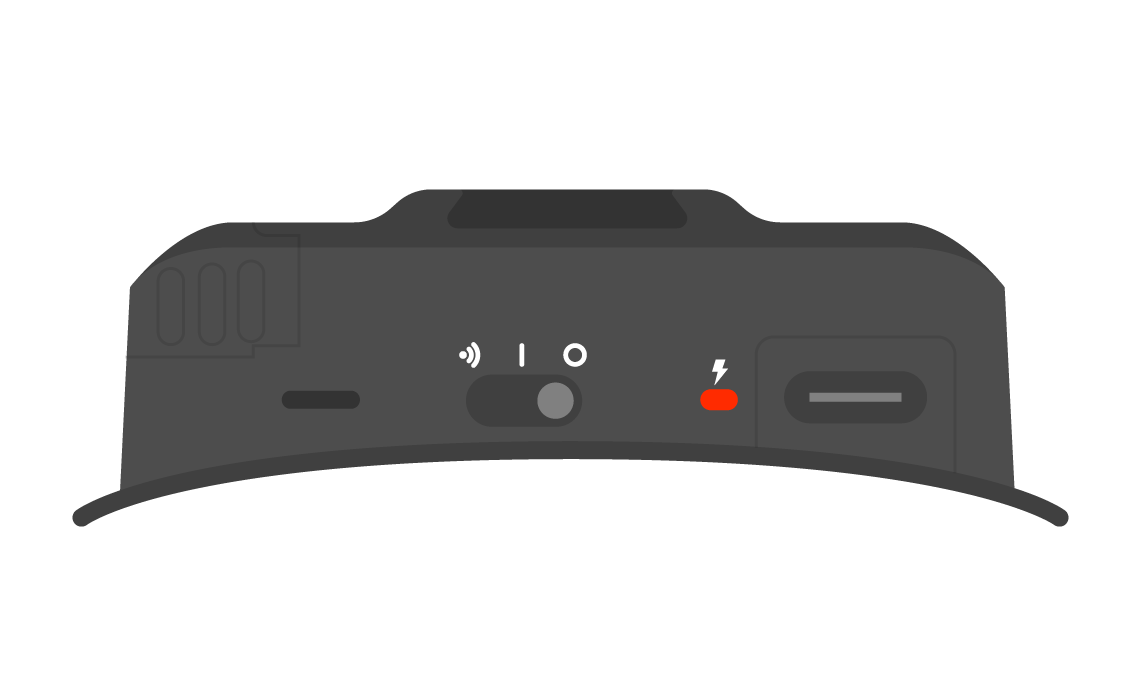
The battery is charging
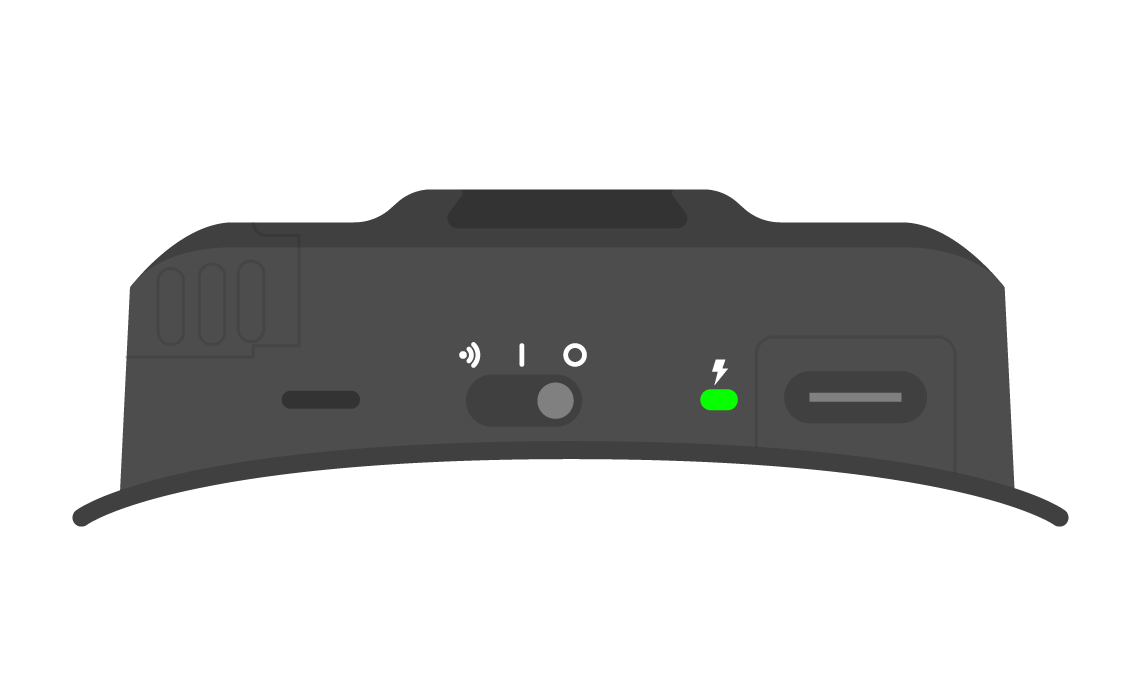
The battery is full and no longer charging
The gloves are initializing and trying to pair to a dongle.

The glove is now connected wirelessly
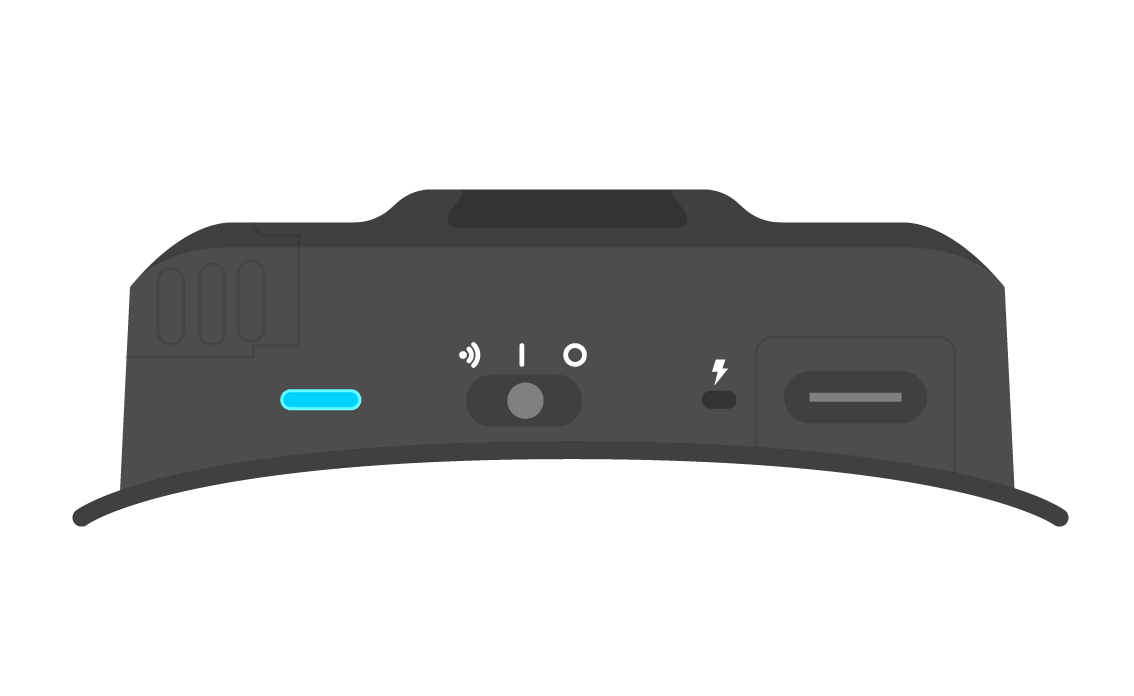
If your gloves are not connected to a dongle the status LED will breathe blue.
After switching your gloves into pairing mode the LED light will blink white.
When your battery level is low the Status LED will blink red.
When your gloves are connected to a PC wired the LED will turn green.
When the firmware is updating the Status LED will breathe or blink magenta.
When your gloves are experiencing issues the Status LED will turn yellow.
In this event, please contact our support team.
...
...

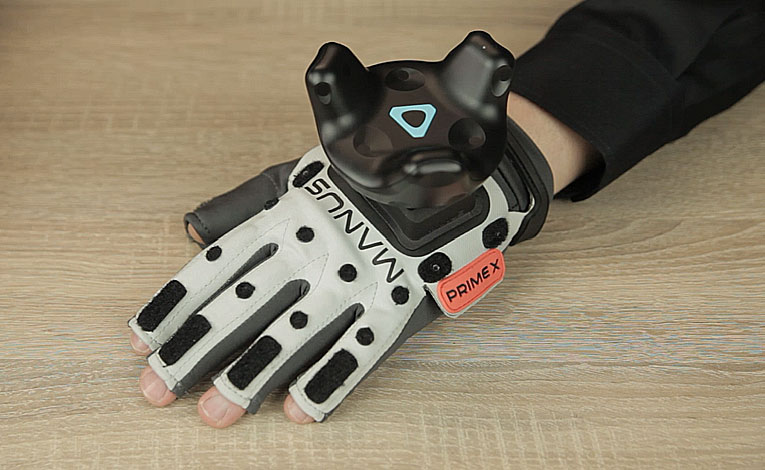
The HTC Vive tracker is now ready to be calibrated and used.
...
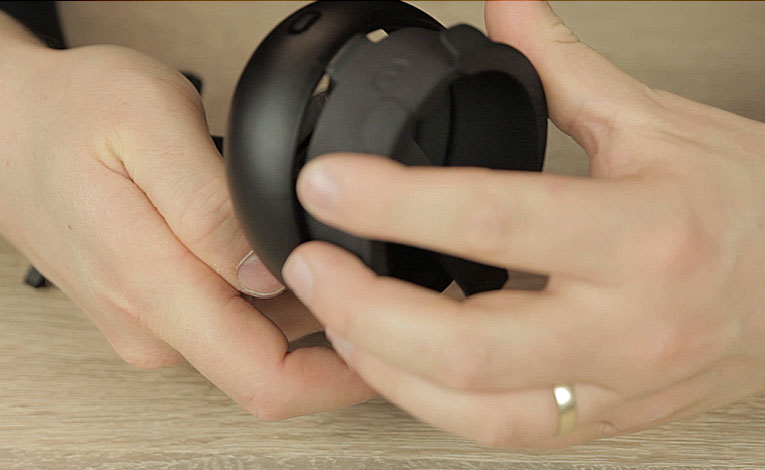
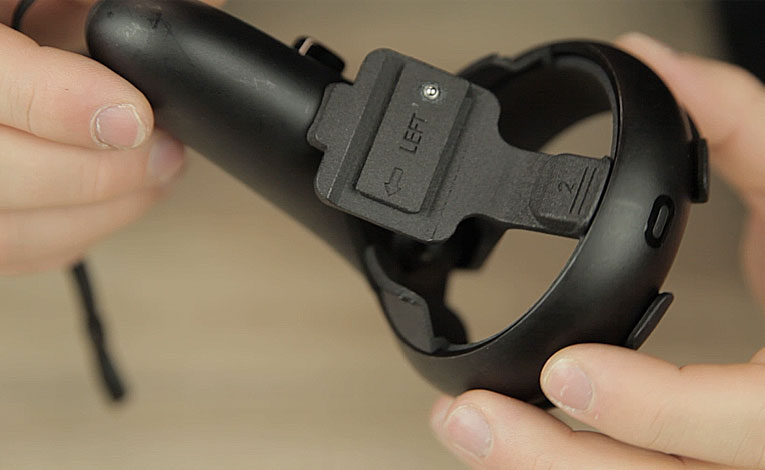
Make sure you have the correct Left and Right orientation.
...
...

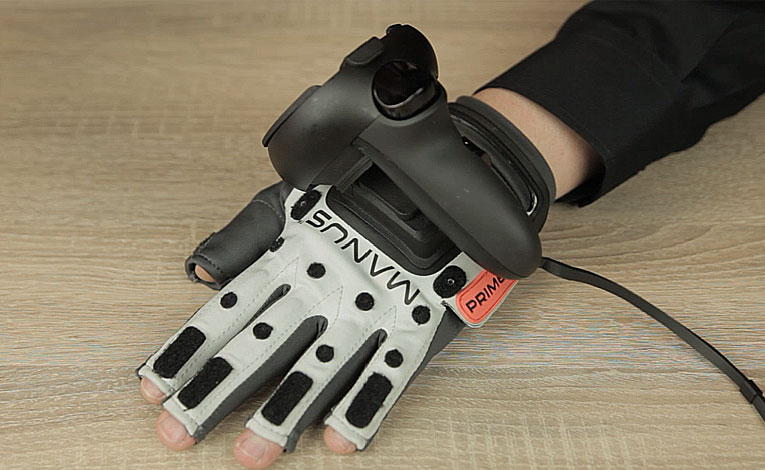
The OptiTrack tracker is now ready to be used.
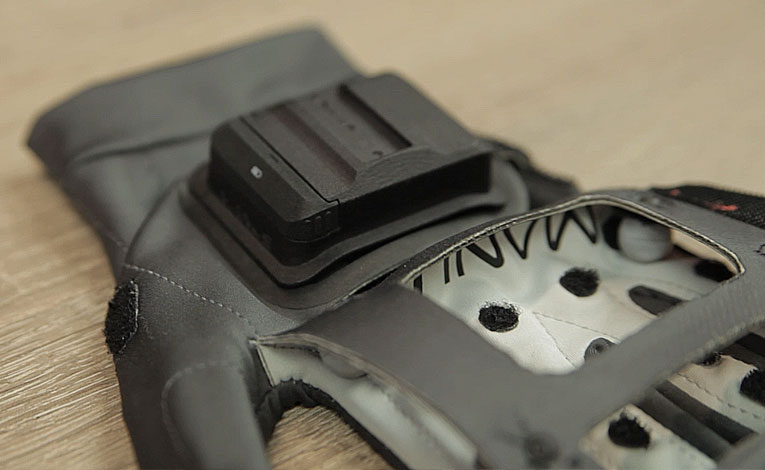
The ART tracker can be mounted directly to the universal mount.
Headquarters
Floor 9
Kennedyplein 200
5611 ZT Eindhoven
The Netherlands
Manus Germany GmbH
Floor 19
Mies-van-der-Rohe-Straße 6
80807 München
Deutschland


