For all software, please visit our resource center.
Start by logging in to our Resource Center.
If you do not have an account yet, please create an account.
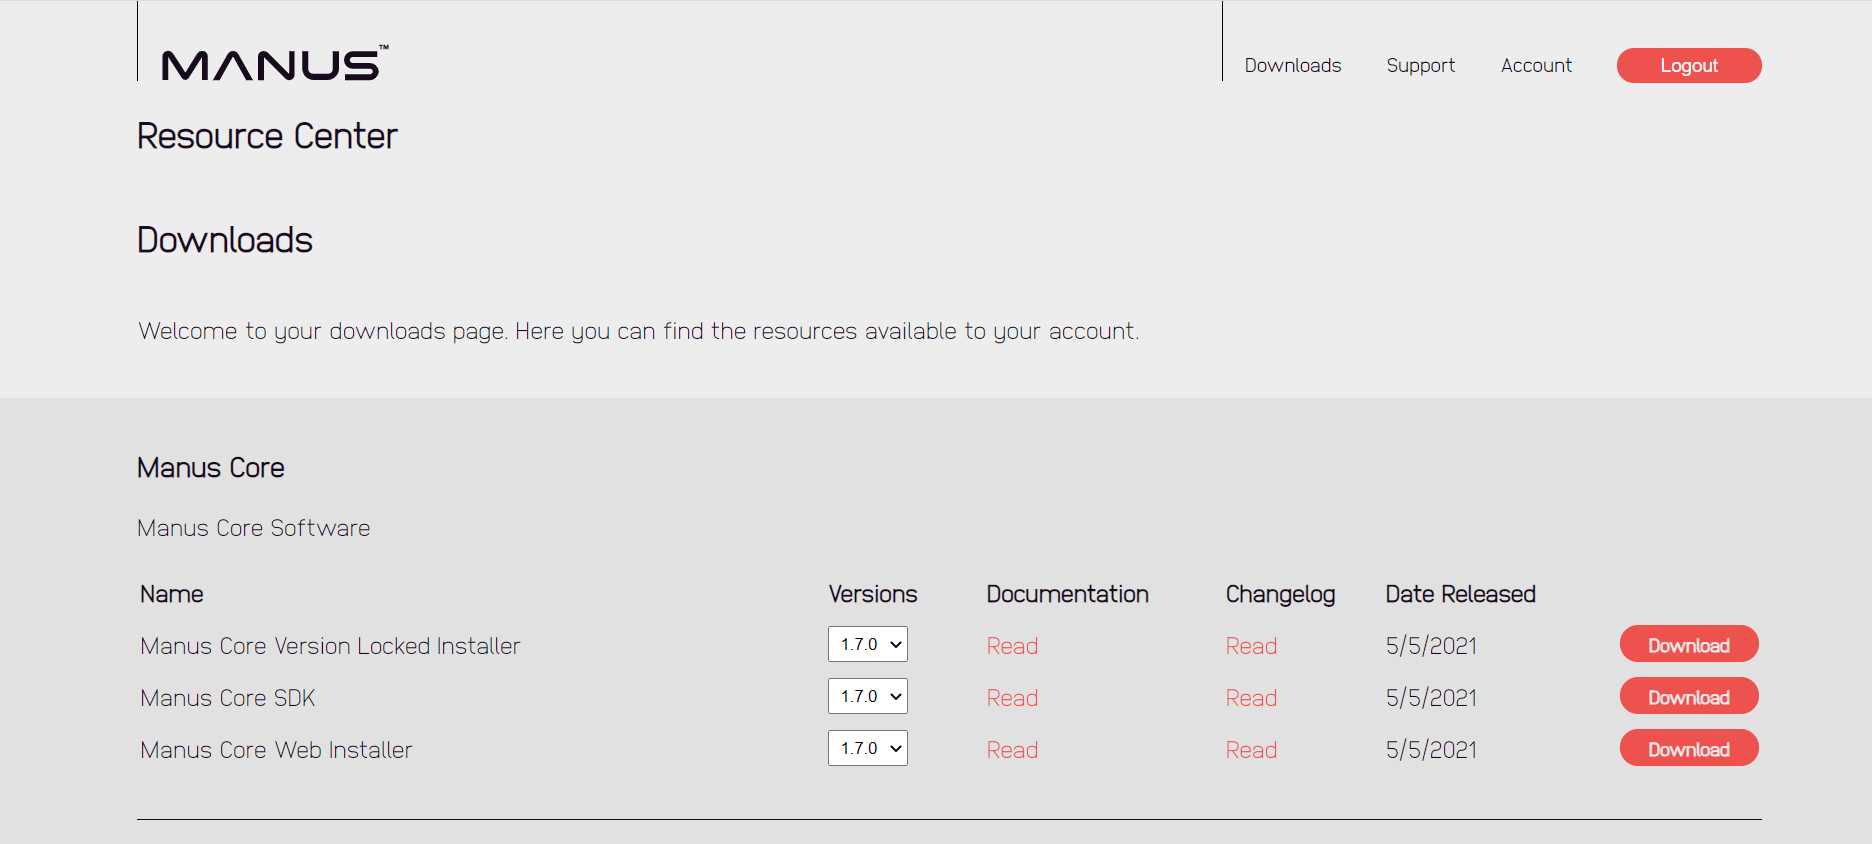
Download and install the latest version of Manus Core on our resource center.
Manus Core is a tray application and runs in the background. Manus Core must be running in order to make use of the Prime II gloves.
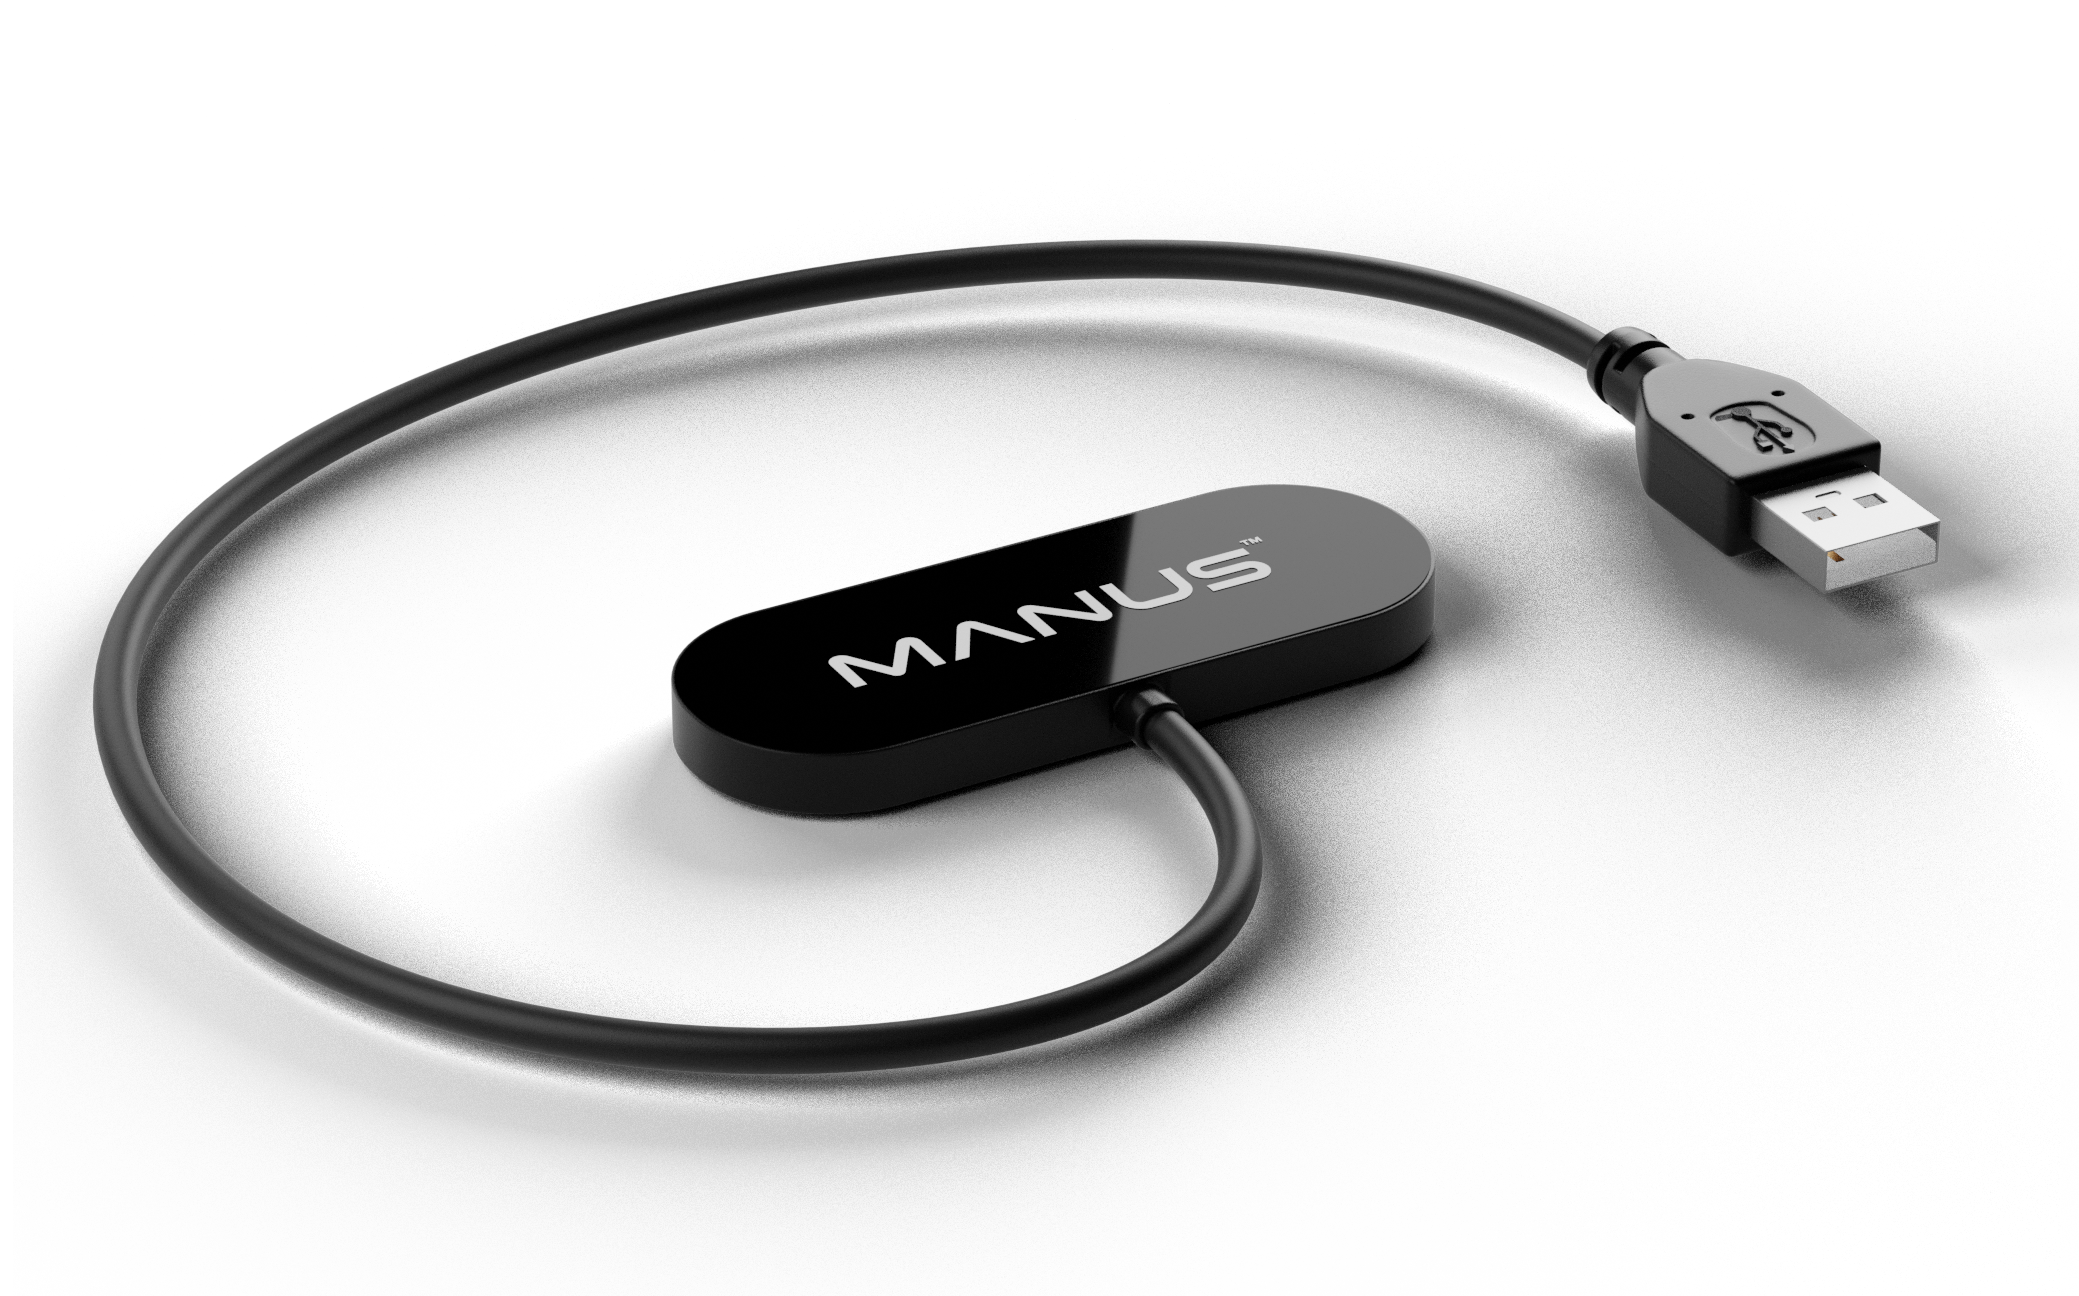
Please insert the Manus Dongle into your computer. This dongle receives glove data and communicates this to Manus Core.
One dongle can connect to one pair of gloves.
Please start the Manus Dashboard, which is accessible through right-clicking on the Manus Core tray icon. The Manus Dashboard allows you to check your glove status and data.
The Manus Prime II gloves should arrive pre-paired with your dongle. If this is not the case, please put your glove in pairing mode. After putting the glove in pairing mode, the glove ID should appear in the menu on the right. Simply click on the glove ID and press the "Pair" button.
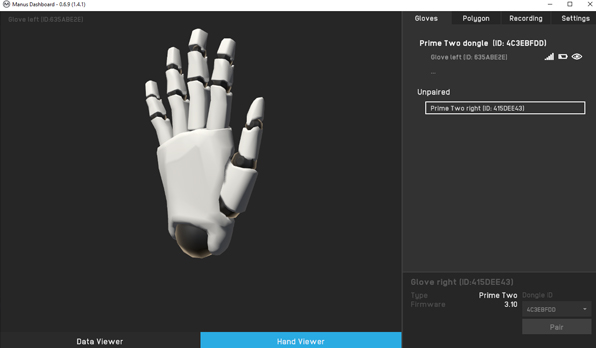
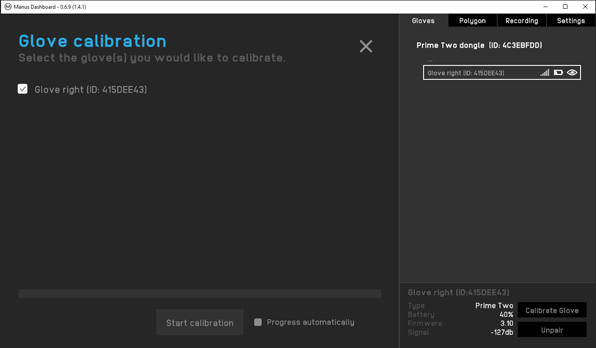
Calibrate your gloves by clicking on the glove visual, or on the glove ID. After selecting a glove a "Calibrate glove" button appears.The calibration is a 30 seconds process in which you have to mimic three poses. The calibration will be saved on your glove.Now you are ready to make use of the Prime II gloves!
Click here to return to the overview of our tutorials.
1. Make sure the velcro wrist straps are open.
2. Insert your fingertips inside the glove.
3. Steadily put on the glove by pulling the fabric near your wrist with your other hand.
4. Close the velcro wrist straps.
1. Open the velcro wrist straps.
2. Carefully loosen the glove by pulling different fingertips one after another.
3. Pull the glove off by pulling multiple fingertips to divide the strain on the fabrics.
1. Make sure the velcro wrist straps are open.
2. Pull the velcro on top of the wrist off one by one.
3. Loosen the fabric around the casing by pulling its corners one by one.
4. Pull open the primary flap and fold it on top of the fingers.
5. Detach the velcro on the hand on the side of the pinky.
6. Loosen the fabric around the casing by pulling its corners one by one.
7. Pull open the secondary flap and place it on the side.
8. Carefully guide and pull out the electronics module from the glove.
1. Make sure the velcro wrist straps are open.
2. Pull the velcro on top of the wrist off one by one.
3. Pull open the primary flap and fold it on top of the fingers.
4. Detach the velcro on the hand on the side of the pinky.
5. Pull open the secondary flap and place it on the side.
6. Steadily insert the sensors for all fingers except the thumb into the glove.
7. Insert the thumb sensors into the glove by carefully guiding it.
8. Secure the secondary flap around the casing by pulling its corners around it one by one.
9. Align the casing and sensors, and attach the velcro of the secondary flap.
1. Push the power switch button towards the battery and let go.
2. The switch automatically moves back to the center and is locked in the “ON” position.
3. The Activity LED will blink cyan to indicate your glove is turning on.
1. Make sure your glove is turned on.
2. Push the power switch button towards the battery and let go.
3. The switch automatically moves back to the center and is locked in the “ON” position.
4. The Activity LED will blink white to indicate your glove is now in pairing mode.
5. Use the Manus Dashboard to pair your glove to a Manus dongle
1. Push the power switch button away from the battery and let go.
2. The switch is now locked in the “OFF” position.
3. The Activity LED will turn off to indicate your glove is now turned off.
Pull out the removable battery in the direction of the battery grip.
Insert and push the removable battery in the direction of the casing.
1. Make sure your glove battery is inserted in your glove.
2. Connect a USB Type-C cable with your glove and USB charger.
3. The Battery LED will turn red to indicate your glove is now charging.
4. The Battery LED will turn green when the battery is fully charged.
1. Align the adapter using the orientation pin.
2. Insert the adapter pin in the recess in the Vive Tracker
3. Insert the screw and fasten it.
1. Orient the directional Vive Tracker adapter towards the glove mount.
2. Slide the adapter into the glove mount.
1. Make sure Manus Core is running and your Manus dongle is connected to your computer.
2. Open the Manus Dashboard application.
3. Put your glove in pairing mode.
4. The Activity LED will blink white to indicate your glove is now in pairing mode.
5. Select the unpaired glove in the Manus Dashboard device list and click “Pair”.
6. The Activity LED will turn cyan when connected to the Manus dongle.
1. Make sure Manus Core is running and your gloves are connected to your computer.
2. Open the Manus Dashboard application.
3. Select a glove you want to calibrate, and click “Calibrate” in the interface.
4. Follow the on-screen instructions to calibrate your gloves.